A good tire changer is essential workshop equipment for an auto repair specialist. Here's a breakdown of the main types and their key features.
1. Manual Tire Changers
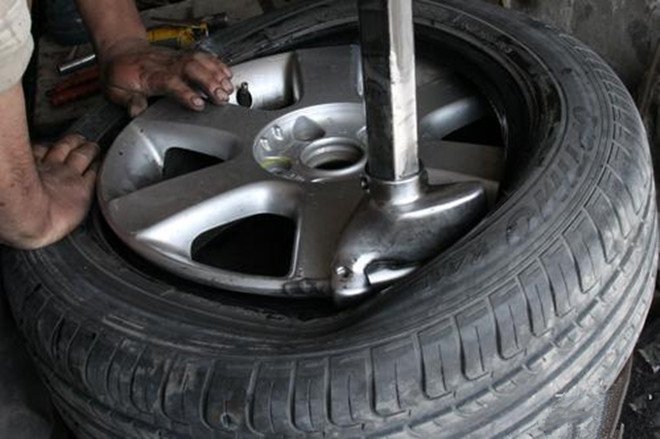
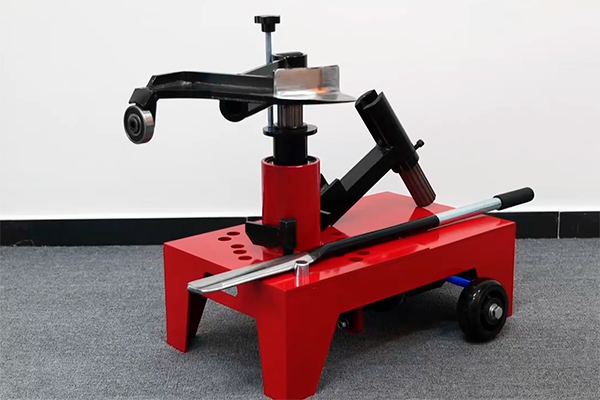
It requires significant physical effort from the technician. Use foot pedals or levers and manual tools (tire irons/demount bars) to remove/install the tire.
Pros: Lowest cost, simple design, robust for basic tasks.
Cons: Physically demanding, slower, higher risk of wheel damage (especially alloys) or technician injury. Requires a high skill level.
Best For: Low-budget shops, occasional use, or primarily steel wheels.
2. Semi-Automatic Tire Changers
Use air-powered (pneumatic) assist for the bead-breaking function (via a swing arm or center clamp). The technician still uses manual tools (tire irons) or a manual mounting/demounting head to remove and install the tire.
Pros: Significant reduction in physical effort (especially bead breaking), faster than manual, more affordable than full-auto.
Cons: Still requires manual skill for mounting/demounting, risk of wheel damage remains if not careful.
Best For: Most independent auto repair shops and garages (the most common type). Offers the best balance of cost, speed, and capability.
3. Fully Automatic Tire Changers
Feature motorized, automated mounting/demounting heads. The technician positions the wheel, and the machine automatically positions the head and performs the tire removal/installation using rollers or arms. Always includes powerful air-assisted bead breaking.
Pros: Fastest operation, least physical demand on technician, significantly reduces risk of wheel damage (especially to alloy wheels), highly consistent results. Often includes features like built-in balancers.
Cons: Highest initial cost, larger footprint, requires more training on specific machine operation. It can be overkill for low-volume shops.
Best For: High-volume shops (dealerships, tire chains, fleet services), shops specializing in expensive alloy or low-profile tires. Essential for run-flat tires.
Key Features & Considerations (Across Types):
Bead Breaker Type
- Swing Arm: Traditional lever arm. Requires careful positioning to avoid damaging wheels. It can be powerful.
- Center Clamp/Pedestal: Breaker rises from the center. Generally safer for wheels and TPMS sensors, and easier positioning.
Mounting/Demounting Head
- Manual: Requires skill with tire irons/demount bar.
- Manual Mounting Head (on Semi-Auto): A fixed or pivoting head that the tech uses to lever the tire, easier than irons.
- Automatic Head (on Full-Auto): The Motorized head does the work precisely.
Clamping Mechanism
Secures the wheel. Look for robust clamps that grip securely without marring wheels (plastic/rubber coated jaws are good for alloys). Self-centering is valuable.
Duckhead/Mounting Tool Material
Nylon or softer plastic "duckbills" are essential for alloy wheels to prevent scratches. Harder metal tools are for steel wheels only.
Power
Air pressure requirements (for pneumatic machines) and voltage (for electric/motorized functions).
Capacity: Range of wheel diameters (e.g., 10"-25") and widths it can handle. Check maximum rim width.
TPMS Compatibility
Modern machines should have features (like soft touch, specific clamp designs, center bead breakers) to minimize the risk of damaging Tire Pressure Monitoring Sensors.
Accessories
Availability of motorcycle/ATV adapters, run-flat kits, bead blasters (for inflating stubborn beads).